VBA can display data in a few different ways.
- In the immediate window
- In a message box
- In an Excel sheet cell
- In a label/textbox control of a userform
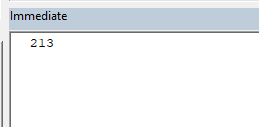
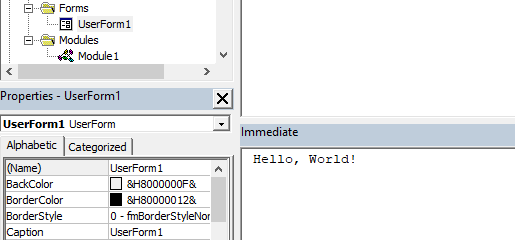
Display data in the immediate window
This is a data output method commonly used by developers to test subroutines and functions while developing VBA applications. In this method you can write data into the immediate window using the Debug.Print method. Here is an example.
Debug.Print "Hello, World!"
End Sub
This will write "Hello, World!" into the immediate window of the VBA editor.
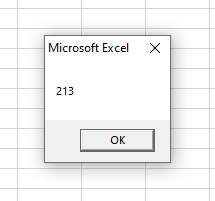
Display data in a message box
From this method you can output data in a message box. We often use this option to display the program completion messages to the users.
MsgBox "Completed!"
End Sub

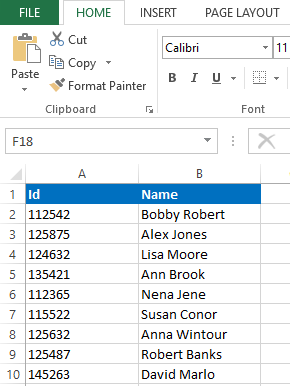
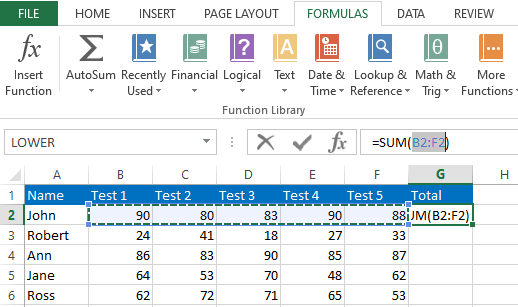
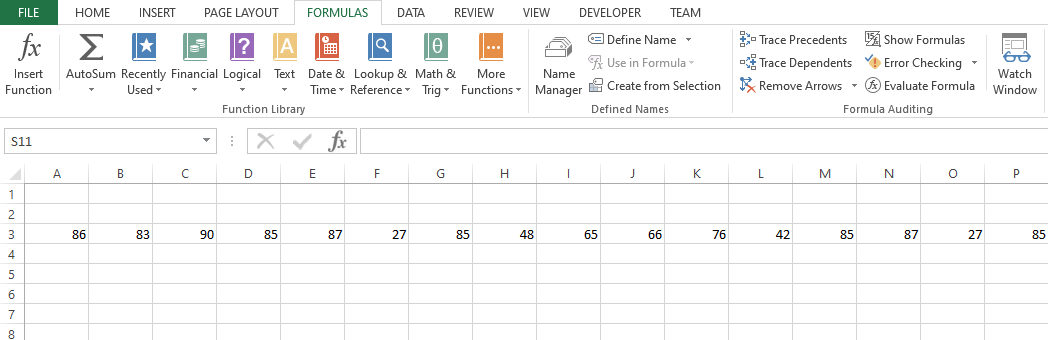
Write data into a Excel sheet cell
You can also write data into Excel worksheets using VBA. This data output method is typically used when generating reports from VBA applications. You can generate sales reports, invoices etc through a VBA application using this method. Below is a very simplest example of this method. It will write "Hello, World!" into the cell A1 of the sheet1.
Worksheets("Sheet1").Range("A1").Value = "Hello, World!"
End Sub

Output data in a label/textbox control of a userform
This data output method can be used when developing applications with one or more userforms. If you have a userform in your form, then you can display data inside label and textbox controls. Below is a sample form I created to show how to output data in a textbox control of a userform. I’m going to develop a simple code to print “Hello, World!” when a user clicks the “Print” button. Assume the name of the textbox is “txtMessage” and the name of the command button is “cmdPrint”.

Double click on the cmdPrint button. Then you will see this kind of click event in the userform code module.
End Sub
Then add the following code to that click event.
So the completed code should look like this.
txtMessage.Value = "Hello, World!"
End Sub
Now when you click on the button, “Hello, World!” will be displayed in the textbox.

Also you can use TextBox.Text property instead of the value property as well.
Also read
Open and read text file using VBA
Convert an Excel Sheet to PDF Using VBA
Convert an Entire Workbook to a Single PDF File
Open files in a specific directory (folder)